
 English

Views: 0 Author: Site Editor Publish Time: 2025-11-03 Origin: Site


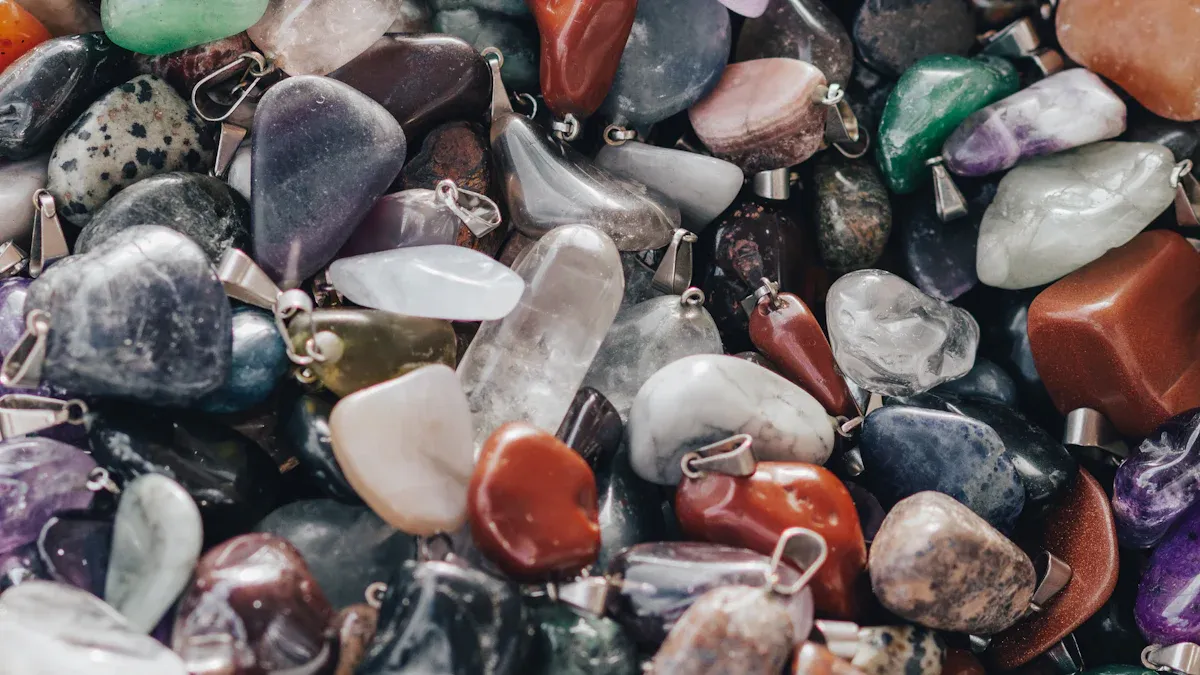
If you want shiny stones, you need the best thing to polish: a rock tumbler with silicon carbide grit. You just load your rocks, add the grit, and let the tumbler do its magic. This method gives you smooth, glossy stones every time. You can get started even if you have never polished rocks before. Ready to see your stones sparkle? Let’s jump in and make your collection shine!
Use a rock tumbler with silicon carbide grit for best results. This way works well for beginners and experts.
Follow each step in the tumbling process: coarse grind, medium grind, pre-polish, and polish. Each step is important to make stones shiny.
Pick the right tumbler for your needs. Rotary tumblers are good for beginners. Vibratory tumblers work faster.
Clean your rocks and tumbler after each step. This stops grit from mixing. It helps stones look smooth and shiny.
You can polish by hand with sandpaper or mineral oil for a quick shine. This works well for small rocks or if you want more control.
If you want shiny stones, use a rock tumbler and silicon carbide grit. This pair works well for beginners and experts. Put your rocks in the tumbler, add the grit, and let the machine run. The grit is very hard, with a Mohs rating of 9. It can polish rocks faster than sand or other things.
Tip: Silicon carbide grit keeps its sharp edges while tumbling, so your stones get an even polish the whole time.
You can use this way for many kinds of stones. First, use coarse grit to smooth rough edges. Next, use medium grit to shape the stones. Last, use fine grit to make them shiny and smooth. Here is a table that shows how grit compares to other materials:
Material | Hardness (Mohs) | Effectiveness in Tumbling |
|---|---|---|
Silicon Carbide Grit | 9 - 9.5 | Highly effective |
Commonly-tumbled Rocks | ~7 | Less effective with sand |
Beach/River Sand | ~7 | Ineffective due to equal hardness |
Silicon carbide grit is much harder than most rocks. It shapes and smooths them easily. Sand is not hard enough to do the job.
You may ask why a tumbler with silicon carbide grit is the best way to polish stones. The answer is simple. It gives you shiny, smooth stones every time. The grit is hard and has sharp edges, so it cuts and polishes well. It is also cheap, so you do not need to spend much money.
Characteristic | Description |
|---|---|
Hardness | Silicon carbide has a Mohs hardness of 9+, so it is one of the hardest things you can use. |
Angular Particles | It breaks into sharp pieces that help cut and polish rocks better. |
Cost-Effectiveness | It is not expensive, usually just a few dollars for a pound. |
Most people who use this method like how their stones look after tumbling. The stones are smooth and shiny, great for jewelry or showing off. You can use this process for many kinds of rocks, even ones you find at home or on trips.
If you want fast results, you can pick rotary or vibratory tumblers. Rotary tumblers take 4 to 8 weeks. Vibratory tumblers finish in 1 to 2 weeks.
Note: Hand polishing lets you control the finish and get a finer shine, but it takes much more time and work. For most stones, the best way to polish is with a tumbler and silicon carbide grit because it is easy, works well, and gives great results.
You want to pick a tumbler that fits your needs. Rotary tumblers work best for beginners because they are simple to use. Vibratory tumblers polish shaped rocks faster and give a high-gloss finish. Some hobbyists use both types to get the best results. Here are some popular models you can try:
National Geographic Hobby Tumbler (great for kids)
Dan & Darci Advanced Tumbler Kit (perfect for hobbyists)
Lortone 3A (professional-grade for serious collectors)
Raytech Tumble-Vibe (top choice for vibratory polishing)
Start by checking your rocks. Toss out any that look cracked, porous, or broken. Mix stones of similar hardness so softer ones do not get damaged. Load the barrel with different sizes for better tumbling. If you need more filler, add small ceramic media. Always clean your rocks and barrel between each stage to avoid grit contamination.
Tip: Never overload your tumbler. Leave space for the rocks to move and polish evenly.
Follow these steps to learn how to polish rocks with a tumbler:
Coarse Grind: Fill the barrel with rocks and coarse grit. Seal and tumble for 1 week to 3 months.
Medium Grind: Clean everything, add medium grit, and tumble for 1 week.
Pre-Polish: Clean again, add pre-polish grit, and tumble for 1 week.
Polish: Clean, add micro aluminum oxide, and tumble for 1 to 3 weeks.
Optional Burnish: Tumble with soapy water for a final clean.
Stage | Duration | Grit Size |
|---|---|---|
Medium Grind | 1 week | 110/220 or 150/220 silicon carbide |
Pre-Polish | 1 week (rotary), 2-3 days (vibratory) | 500 grit silicon carbide or aluminum oxide |
Polish | 1-3 weeks (rotary), 3-4 days (vibratory) | Extra fine micro aluminum oxide |
After tumbling, rinse your rocks well between each stage. Use a toothbrush or spray bottle to clean grooves and cracks. For a bright shine, buff with a soft cloth and a product like ZAM. Run a burnishing cycle with soapy water to remove any film. Clean ceramic media and barrels to keep your rocks sparkling.
Note: Remove chipped stones before the final polish to protect your best pieces.
Now you know how to polish rocks with a tumbler. With these steps, you can get shiny stones every time.
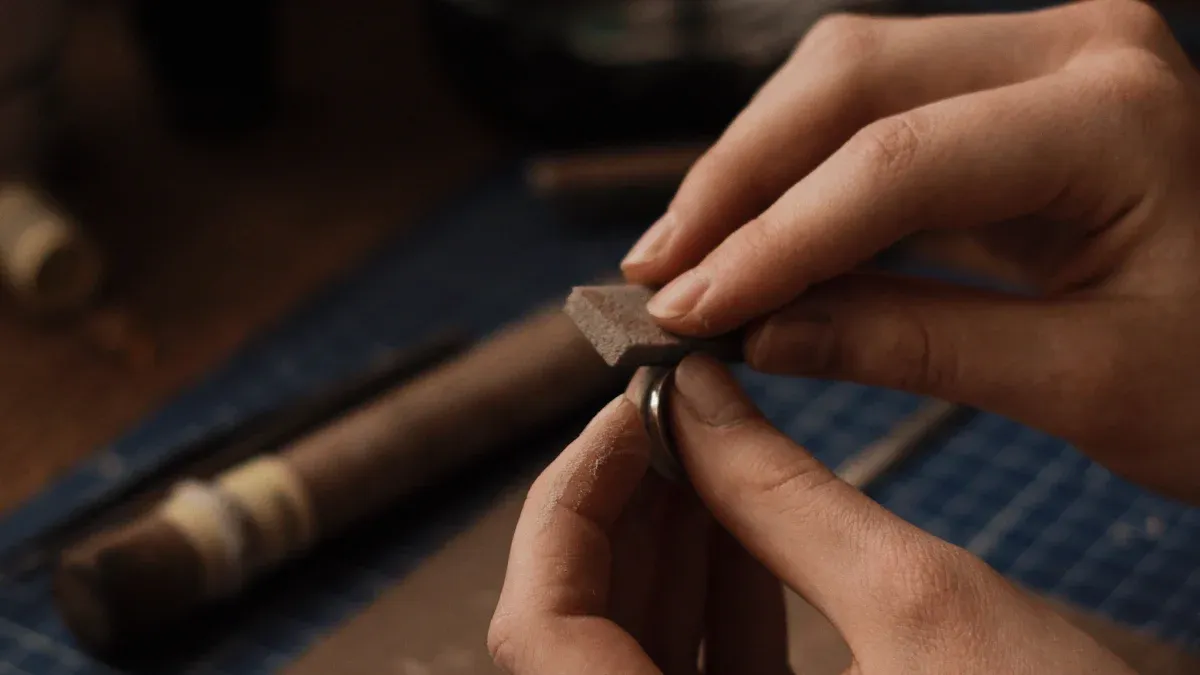
You can make rocks shiny without a tumbler. Sandpaper is your best friend for this job. Here’s how to make rocks shiny by hand:
Pick a stone. Softer stones work best, and you want to avoid deep cracks.
Decide if you want to polish one side or the whole stone.
Shape your stone in water. This keeps dust down and helps you see progress.
Start sanding with coarse grit. Move to finer grits as you go. Always make sure you remove scratches from the last grit before moving on.
Finish with a polishing compound for that final shine.
Check out this table for grit sizes and what each does:
Grit Size | Purpose | Result Description |
|---|---|---|
30/50 grit | Heavy Grinding | Removes deep scratches, rough surface |
100/200 grit | Honing | Smooths scratches, anti-slip when wet |
400/800 grit | Fine Honing | Dull to satin shine |
1500/3000 grit | Polishing | Mirror finish if done right |
8500/Buff | Fine Polishing | Final buff, not needed for most stones |
Tip: Always sand in water. This helps you avoid dust and keeps your stone cool.
Want to boost the shine even more? Try polishing rocks with oil. Mineral oil makes colors pop and gives a glossy look. You can use food grade mineral oil for the best results. Here’s how you do it:
Wash and dry your rocks. Use soap and water, then let them dry in the sun.
Put your rocks in a jar. Pour in food grade mineral oil until they’re covered.
Cover the jar and let the rocks sit for two hours.
Strain the oil. Save the extra for next time.
Use a paper towel to soak up some oil from the rocks.
Polish with an old towel to wipe off the rest.
Mineral oil gives a temporary shine. It makes rocks look vibrant, but it can attract dirt. Food grade mineral oil is safe and easy to use.
Note: Mineral oil does not give a true polished look, but it’s great for a quick shine.
Soft and porous stones like marble or limestone need gentle care. You want to avoid scratches and stains. Here’s how to make rocks shiny if they’re soft or porous:
Pick the right polishing powder for your stone.
Use a soft cloth or buffing pad.
Sprinkle a little powder on the stone.
Dampen your cloth with water to make a paste.
Buff in gentle circles until you see a shine.
Wipe clean with a damp cloth.
Soft stones can break or stain easily. You may not get a high-gloss finish, but you can still make rocks shiny with patience. Over-polishing can damage these stones, so go slow.
Tip: Always test on a small area first. Soft stones need extra care to avoid damage.
Now you know how to make rocks shiny by hand. Whether you use sandpaper, food grade mineral oil, or gentle polishing for soft stones, you can get great results at home.
You might want to try polishing stones with Huazuan tool. This handy device lets you buff and shape rocks by hand. You can use different attachments for cutting, sanding, and polishing. Here are some things you’ll notice when using Huazuan tool:
You get a lot of control over the shape and shine.
It works well for small rocks or detailed work.
You can switch out bits for different jobs.
Polishing can take effort, especially if the stone is hard or oddly shaped.
Tip: If you want a hand-polished look for jewelry or display pieces, Huazuan can help you get there. Just be ready to spend some time and energy.
Felt wheels and polishing compounds give you another way to make rocks shine. You attach a felt wheel to a rotary tool or bench grinder, then add a polishing compound. Many people say felt wheels work fast and give professional results. You can pick wheels with different hardness or shapes to match your project.
Felt wheels paired with the right compound can save you time.
You get more choices for finishing touches.
Some users find felt wheels work better than muslin wheels for certain stones.
Note: If you want a smooth finish, try using a little oil with your polishing compound. The oil helps the compound stick and makes the colors pop.
Beach rocks often look dull after you bring them home. You can clean them with soap and water, then use sandpaper or a rotary tool for extra shine. Some people rub a drop of oil on the surface to make the colors stand out. This method works best for softer stones or rocks with interesting patterns.
Tip: Always test a small area first. Some rocks soak up oil and may look darker than you expect.
Here’s a quick look at how these methods compare to tumbling:
Method | Pros | Cons |
|---|---|---|
Rotary Tumblers | Superior material removal and shaping. Reliable process. Easier DIY. | Long run times. Less flexibility for odd shapes. High grit use. Maintenance needed. Possible leaks. |
Vibe Tumblers | Quick results. Low grit use. Flexible for flat or odd shapes. | Limited material removal. Not for rough grinding. Needs prepped rocks. |
Dremel/Felt | Great for detail work. Fast shine. Lots of control. | Takes effort. Not ideal for big batches. Can be messy with oil. |
You have lots of choices for polishing rocks. Try different methods and see which one fits your style. Sometimes a drop of oil is all you need for a quick shine, while other times you’ll want to use a tool for a deeper polish.
You want your rocks to look their best, so start by picking the right ones. Not every stone will shine up the same way. Look for rocks with a smooth surface and low porosity. Stones that absorb liquids easily can stain, which makes it tough to keep them looking polished. Hardness matters too. Harder stones resist scratches and keep their shine longer. If you want a dramatic effect, choose rocks that show deep colors when polished.
Here’s a quick table to help you decide:
Criteria | Why It Matters |
|---|---|
Type of Finish | A polished finish brings out the stone’s natural beauty. |
Hardness | Hard stones keep their shine and resist scratches. |
Porosity | Low porosity means fewer stains and easier cleaning. |
Tip: If you want a super shiny surface, be ready to clean and maintain it often. High reflectivity can make the stone slippery, so handle with care.
You might feel excited to polish your rocks, but rushing can lead to problems. Don’t skip steps or use the wrong grit. Always clean your rocks before you start. If you use oil, make sure you don’t overdo it. Too much oil can attract dirt and dull the shine. When you polish with paper towel, use gentle pressure. Rubbing too hard can scratch the surface.
Here are some mistakes to avoid:
Using the wrong grit size for your rocks.
Forgetting to clean between stages.
Applying too much oil, which can make rocks sticky.
Trying to polish with paper towel too quickly or with too much force.
Note: Take your time and check your progress often. Patience gives you the best results.
Safety comes first when you polish rocks. Always wear gloves and goggles to protect your hands and eyes. Use a mask if you’re working with dust or chemicals. Make sure your workspace has good airflow. Clean up dust and debris after each session. If you use oil, store it safely and keep it away from heat.
Keep your tools in top shape. Clean your tumbler and other equipment after each use. Inspect belts and parts for wear. Sweep and rinse your rocks to remove leftover grit. Document your maintenance so you know when to replace parts. When you polish with paper towel, toss used towels in the trash to keep your area tidy.
Tip: Regular cleaning and careful handling help your tools last longer and keep your rocks looking shiny.
You now know the best way to polish rocks. A tumbler with grit gives you shiny results, but you can also use oil for a quick boost. Try different methods and see what works for your favorite rocks. If you want a fast shine, rub a little oil on the surface. You can polish soft stones with oil and a cloth. Anyone can make rocks look amazing with simple tools and tips.
Ready to start? Grab your rocks, pick your oil, and let the fun begin!
Yes, you can polish rocks by hand. Use sandpaper and water to smooth the surface. Finish with a little oil to make them shiny. This method works well for small rocks or if you want to try something simple.
You should use food grade mineral oil. It gives rocks a glossy look and brings out their colors. Avoid cooking oils because they can get sticky or attract dirt. Mineral oil is safe and easy to find.
Apply oil when your rocks start to look dull. Usually, you only need to use oil every few months. Wipe off extra oil with a soft cloth. Too much oil can make rocks feel greasy.
Oil works best on smooth, hard rocks. Soft or porous rocks may soak up oil and look darker. Always test oil on a small spot first. Some rocks might not shine as much, but oil still helps colors stand out.
Yes, it is safe to use oil on rocks you want to display. Mineral oil does not harm rocks. Just remember to wipe off extra oil so your rocks do not attract dust. Keep your display area clean for the best shine.


 No.351, Dingshi Jing, Shijing, Dongling Town, Huian, Quanzhou, Fujian, China
+86-595-86780371
+86-15905012435


